Warning: This scenario is not officially supported by Whonix. Depending on your threat model you might want to reconsider setting this up. If you are just trying to tunnel out malware traffic you should be OK. Be aware that I’m not a lawyer and you are doing everything at your own risk!

So, you are planning to tunnel the traffic of one of your VMWare based VMs through the Tor network? Then, I have good news for you! I’ll be your guide for today to set this up. Please be advised, that the limitations of Tor also apply to our planned setup.
What is Whonix?
According to Wikipedia, “Whonix is a Kicksecure–based security hardened Linux distribution. Its main goals are to provide strong privacy and anonymity on the Internet.
The operating system consists of two virtual machines, a “Workstation” and a Tor “Gateway”, running Debian GNU/Linux. All communications are forced through the Tor network.
Both Whonix and Kicksecure have comprehensive documentation which spans from basic operating system maintenance to more advanced topics.”
Why do you waste your time writing this article?
Yes, yes you are right. There are tons of YouTube videos out there explaining what I’m about to show but if you are like me who dislikes electronic background music, Guy Fawkes desktop backgrounds and shitty comments in notepad windows, you will be disappointed by most of the videos.
So, let’s go!
#1 Download Whonix
Head over to https://www.whonix.org/wiki/VirtualBox/CLI, and hit the “Download” button as enthusiastic as you possibly can to kick off our adventure!
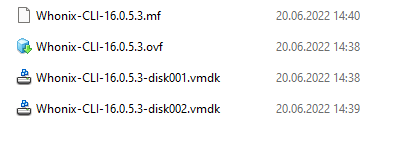
#2 Extract that bad boy
Once the download is complete, you have to extract the content of the downloaded OVA to a convenient place with a tool like 7-Zip. After extraction, you should end up with those files:
#3 Convert VMDK files
You remember that this tutorial is all about VMWare Workstation right? So I’m assuming you’ve got it already installed. If this is the case, open a command prompt and change into the following folder:

Then, you’ll issue the following command:
vmware-vdiskmanager.exe -r C:\Users\Mario\Desktop\Whonix-CLI-16.0.5.3\Whonix-CLI-16.0.5.3-disk001.vmdk -t 0 C:\Users\Mario\Desktop\Whonix-CLI-16.0.5.3\Whonix-GW.vmdk
Of course, you’ll need to adjust the input and output path!
If you are seeing this, you were successful:

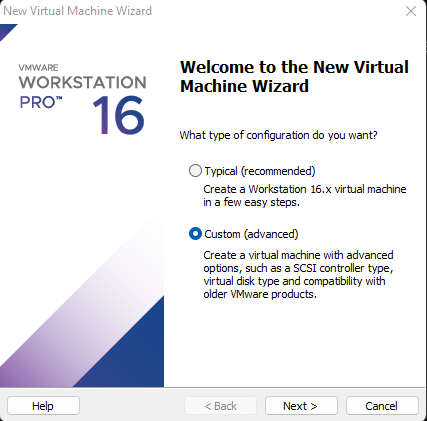
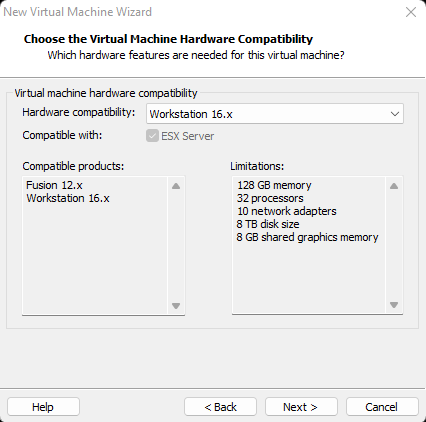
#4 Creating the virtual machine
Now that we have our hard disk in place, we’ll create the VM:


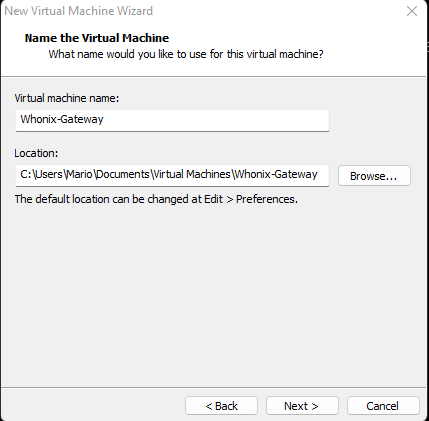
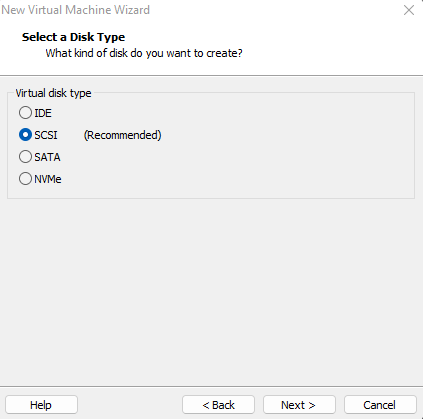
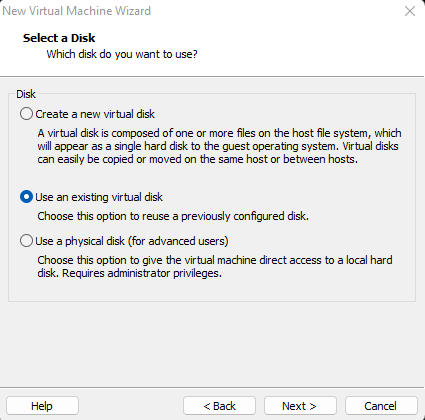
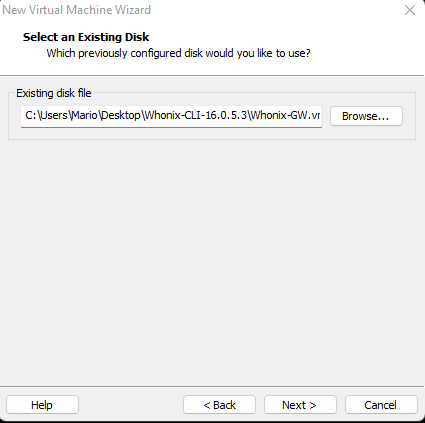 Navigate to your previously created VMDK file
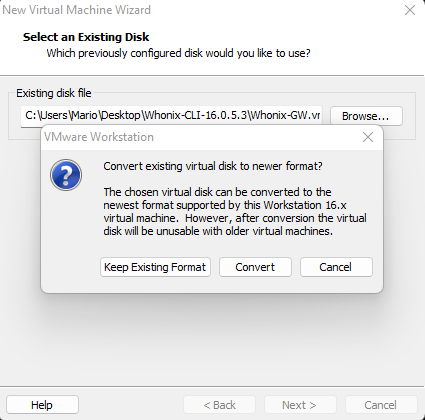 Convert it
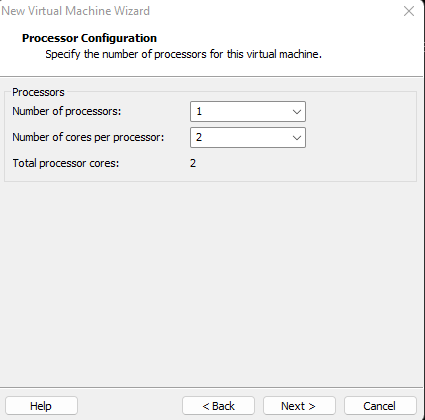
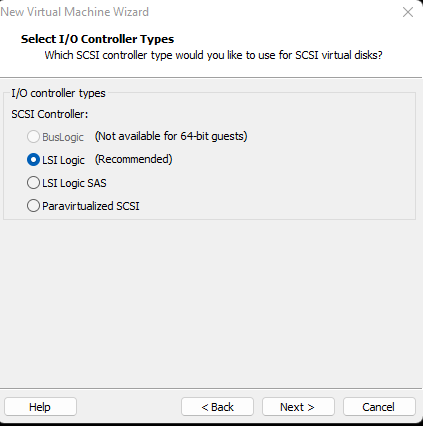
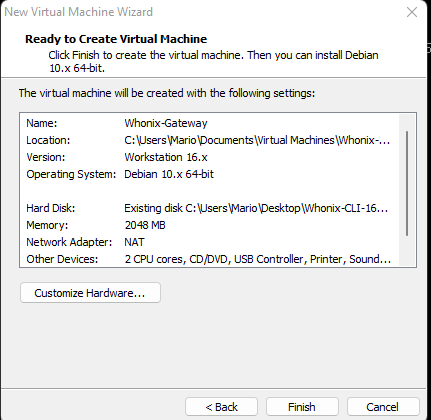 Click on “Customize Hardware”
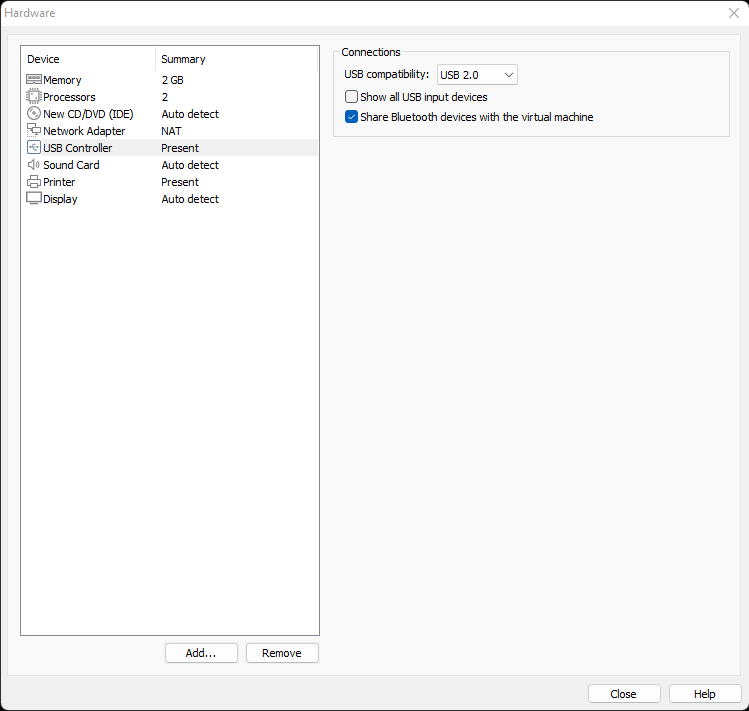 Remove the devices “USB Controller”, “Sound Card” and “Printer”
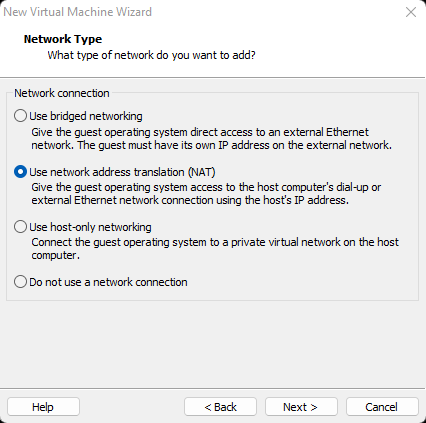
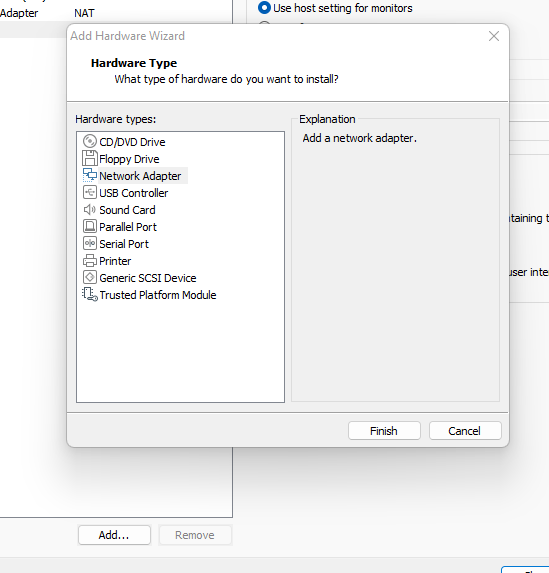 Click on “Add” to add a new “Network Adapter”
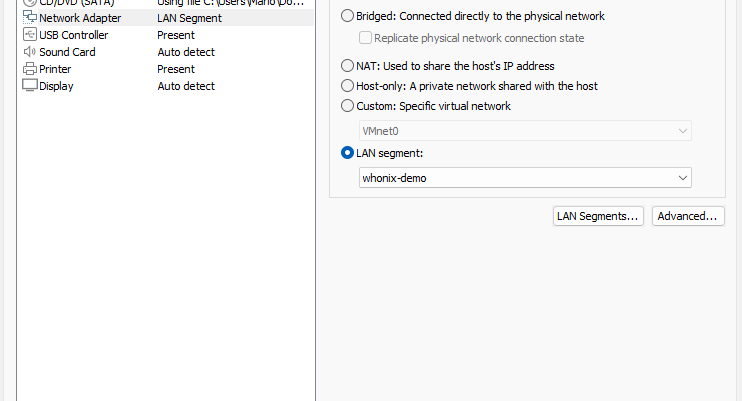
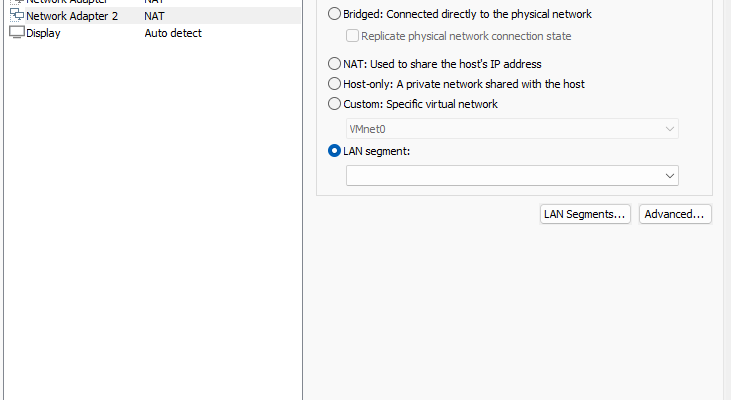 Click on “LAN Segments”
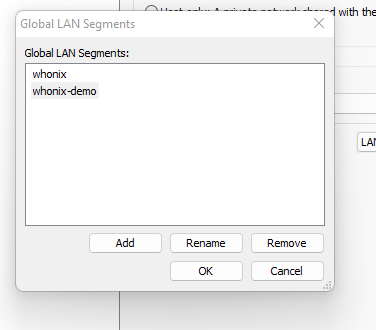 Create a new one called “whonix-demo” (I already got “whonix” from my live setup — please ignore!”)
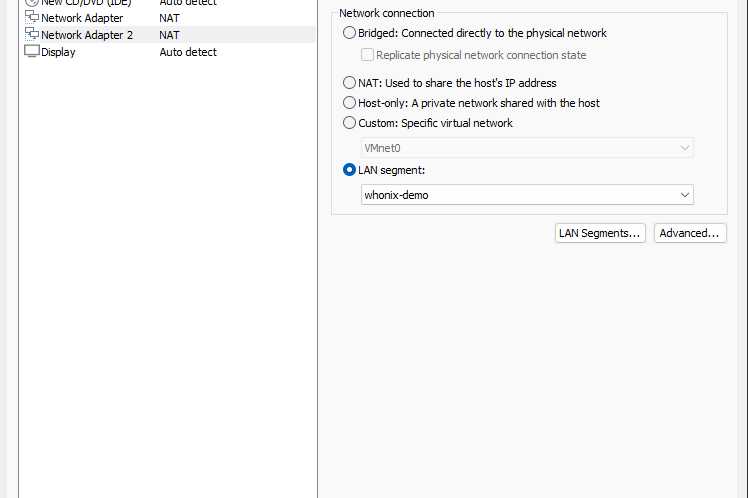 On your newly created Network Adapter, choose the LAN segment you created
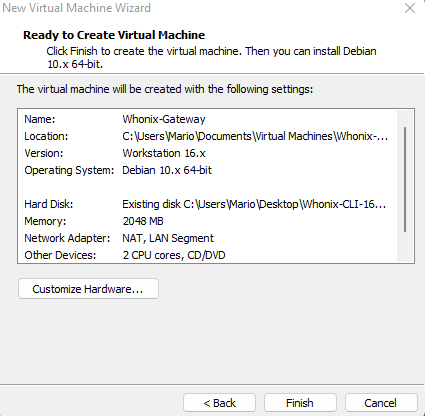 Click on “Finish”
Congratulations, you created your Whonix Gateway VM! Time to boot it up!
#5 Configure Whonix Gatway VM
Now that your Whonix Gateway VM exists, it’s time to boot it up. It’s on your own to find out how to do this! I’m believing in you. Don’t disappoint me!
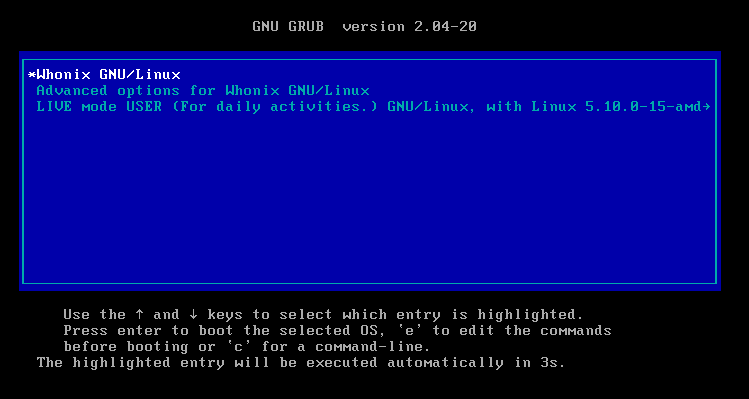
Once started, just leave the GRUB boot menu unchanged and wait patiently.
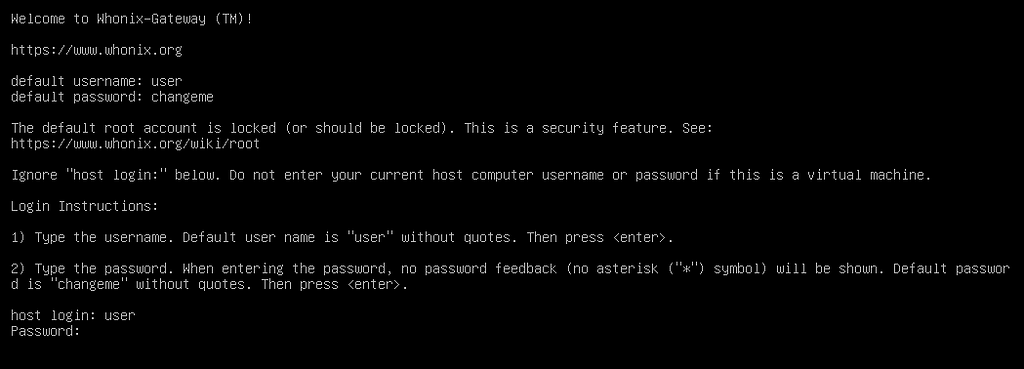
Once the machine is booted, log in with the credentials “user” and “changeme”
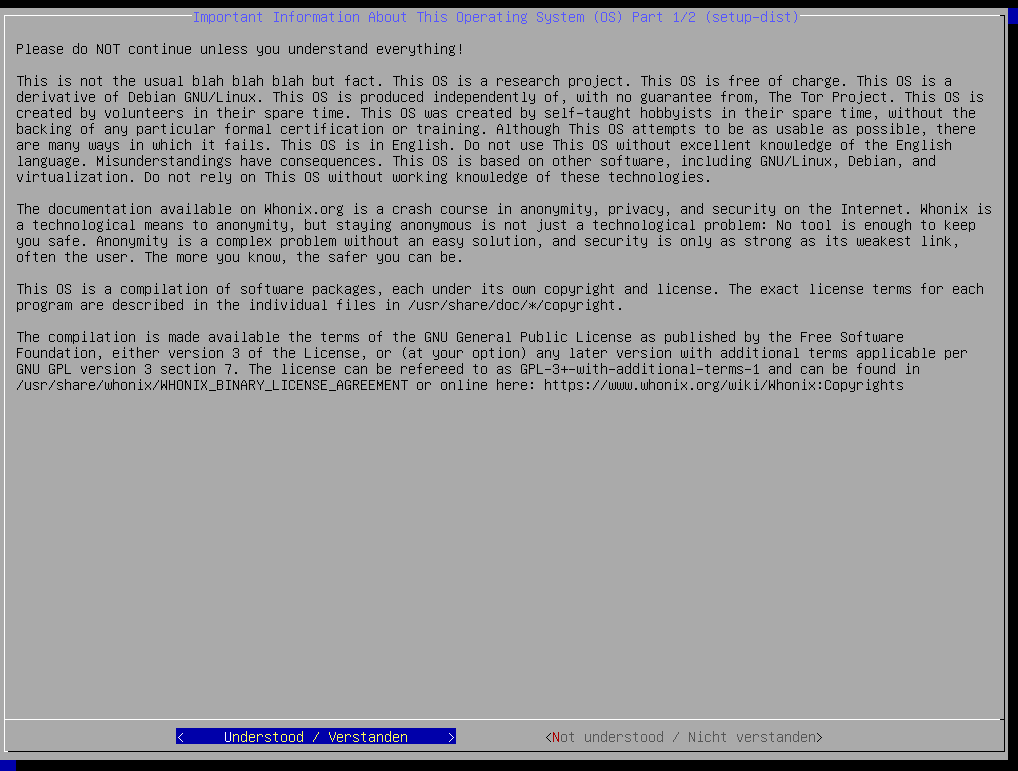
Afterwards, you should read carefully through all warnings and accept them (or not):
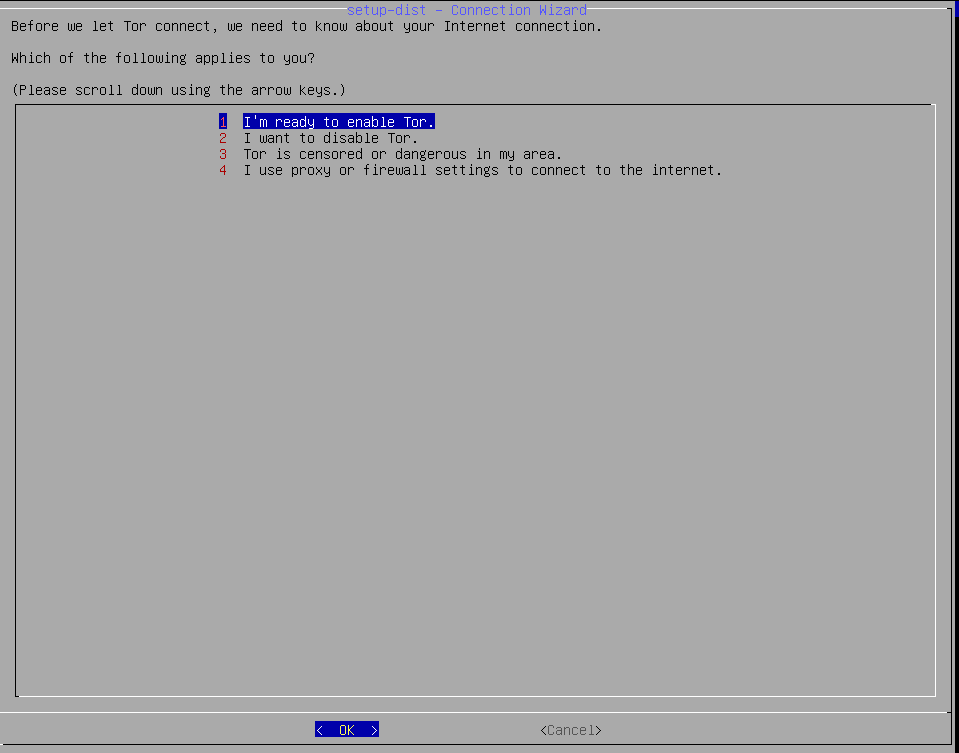
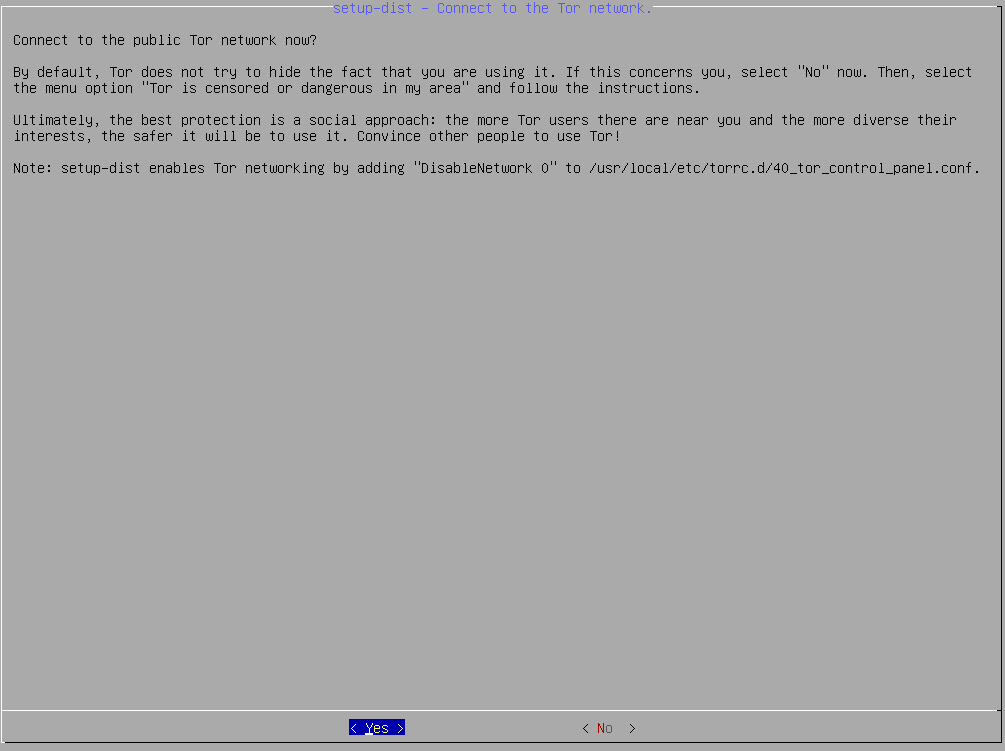
Please select that you are ready to use Tor but be advised that it won’t work yet at this point:

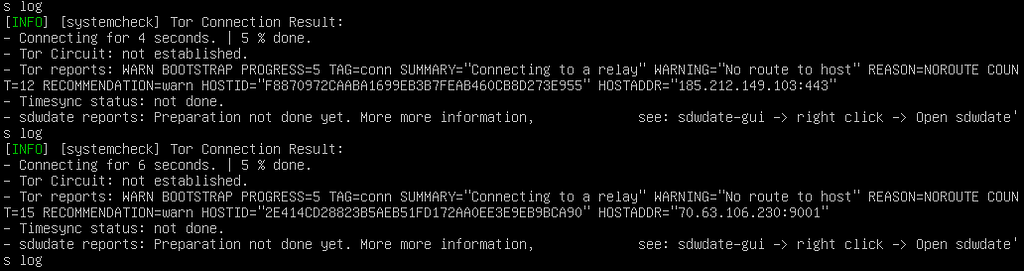
As already mentioned, Tor won’t work out of the box what you can see here:
To stop this misery, press CTRL+C. Afterwards, it’s a good idea to change the password for “user” with the command passwd. Once you are done, type in “sudo bash” and hit enter and do the same “passwd” command for your root user.
Afterwards, type in “nano /etc/systemcheck.d/30_default.conf”

Change the following value to “1” and press CTRL+X when you are done:

Afterwards, we’ll fix the network. For this to happen, open the following file with nano:
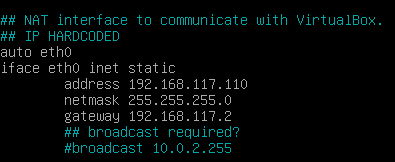
Afterwards, change your IP settings for eth0 according to this screenshot:
When you are done, press CTRL+X again and save the file. Afterwards reboot your machine with “reboot”
After logging in again, and running “sudo bash” again, we’ll run our “systemcheck”:
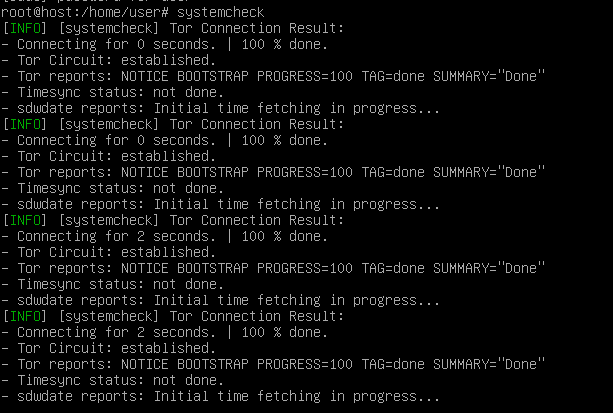
If your Tor Circuit got established, you are on the right track! Now you need to be a little patient for all checks to pass. Hint: In my case it got stuck on “Initial time fetching in progress”. After killing systemcheck with “CTRL+C” and rerunning, it in continued:

If you see this warning message, just press enter and run “upgrade-nonroot”
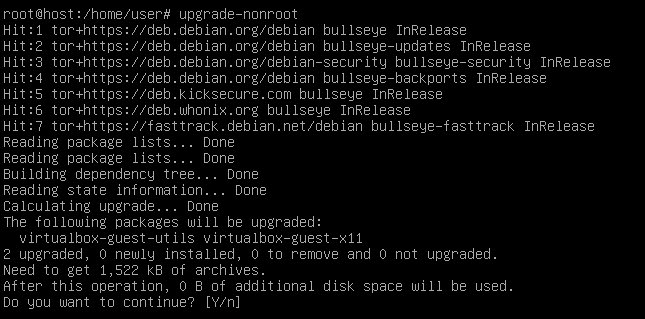
Once the update concluded, run the following command and check the returned IP address. It should be the IP of a Tor exit node. If this is the case you are finished with your Whonix Gateway VM! Hooray!

#6 Configure your Analysis VM
Once your gateway is up and running, it’s time to head over to the VM where you want to get the traffic tunneled through Tor. I can recommend a machine like “FlareVM” if you are planning to analyze malware. Theoretically, you can tunnel all kind of VMs through your newly created Gateway but for this demo, we’ll pick a Windows VM!
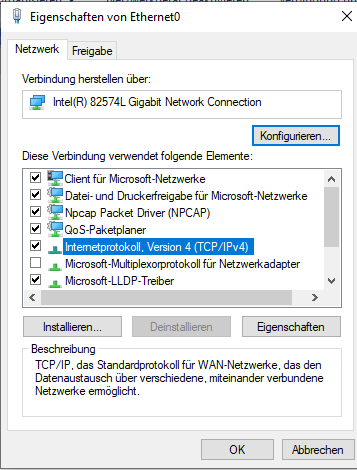
Once in your Windows VM, press “CTRL+R” and enter “ncpa.cpl”:
Make a right- click on your network connection and click “Properties”.
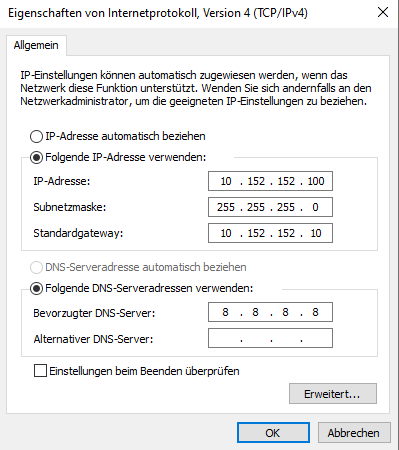
Choose the IPv4 entry and again click on “Properties”:
Here, it’s important, that enter the correct gateway IP address you earlier gave to your gateway VM. Please choose also a DNS server which meets your threat model. I just chose Google DNS (8.8.8.8) in this case. Once done, close all windows again.
Afterwards, we need to open the settings of our VM to get it into the same LAN Segment our Gatway is in.
After this is done, it’s wise to reboot your VM.

After your reboot, run “curl ipecho.net/plain” on your VM. If it also shows a Tor exit node as your IP, you are done. Congratulations!
Article Link: Setting up Whonix Gateway in VMWare Workstation | by Mario Henkel | Jun, 2022 | Medium